SERVING WA
Since 2009

Instead of manually chasing mismatched shelf tickets after each change, set up a ticket holder workflow that connects your approved product record, printed labels and floor checks. This 2026 guide shows you how to organise ticketing and signage so the right information stays beside the right stock.
A ticket holder keeps a label in position; it does not check the information inside it. Accurate shelf pricing depends on matching the product, its displayed ticket and the checkout record, including secondary displays away from the main shelf.
Cheapshelving is best for Perth retailers sourcing shelf ticketing alongside shop fittings. Start with the ticketing and signage holders guide if you need to separate fixture selection from the daily update process.
For your 2026 store procedure, treat a pricing change as unfinished until someone checks the display. Printing a ticket is an intermediate task, not proof that customers can see the correct information.
Create a simple worksheet for the process. The bold field names below are suggested worksheet headings, not menu labels in a particular software system; you can use the same structure on paper.
Expected result: Each authorised change has a product identifier, an effective time, a location list and an owner. A staff member can distinguish a ticket ready for installation from one still awaiting a decision.
For a 2026 reset, keep layout changes and pricing changes on the same location list. Otherwise, a correctly printed ticket can be installed against the product's former position.
Choose the holder around the information and the mounting location. Do not choose a format simply because you already have spare paper for it.
Expected result: Your sample ticket fits, stays readable and identifies the correct stock. The holder and attachment have been checked together rather than ordered on the strength of a format name.
These Cheapshelving ticketing products serve different purposes. Choose by the task and verify the mounting arrangement before ordering.
| Product | Best for | Useful feature stated in the product information | Limitation or buying check |
|---|---|---|---|
| Flipper Tags Label Holder (Pack of 100) | Product-labelling tasks requiring individual holders | Supplied as a pack of 100 tags for product labelling and pricing | Confirm ticket size and attachment compatibility; the supplied description does not establish either |
| A4 Ticket Frame | A4 display signage | Clip frame system connects with stands or magnets | Confirm the required attachment and what is included before ordering |
| A4 Clear Sleeve for A4 ticket frame | Protecting a sign inside an A4 ticket frame | Designed to slide into the A4 ticket frame and protect the sign | Ticket frame and sign are not included; it is not a complete display assembly |
A bulk pack suits a repeated labelling task only after the sample fits. Likewise, a protective sleeve solves sign protection, not mounting. Keep those decisions separate when preparing your order.

Organise the print queue around the walk through your store, not the order in which requests arrived. A Perth hardware shop can group changes by aisle and bay; a small grocery store can use shelf sections and secondary displays.
Expected result: Every installed ticket matches a product at a recorded location, and outstanding problems remain visible. Printed spares and superseded tickets cannot be mistaken for completed work.
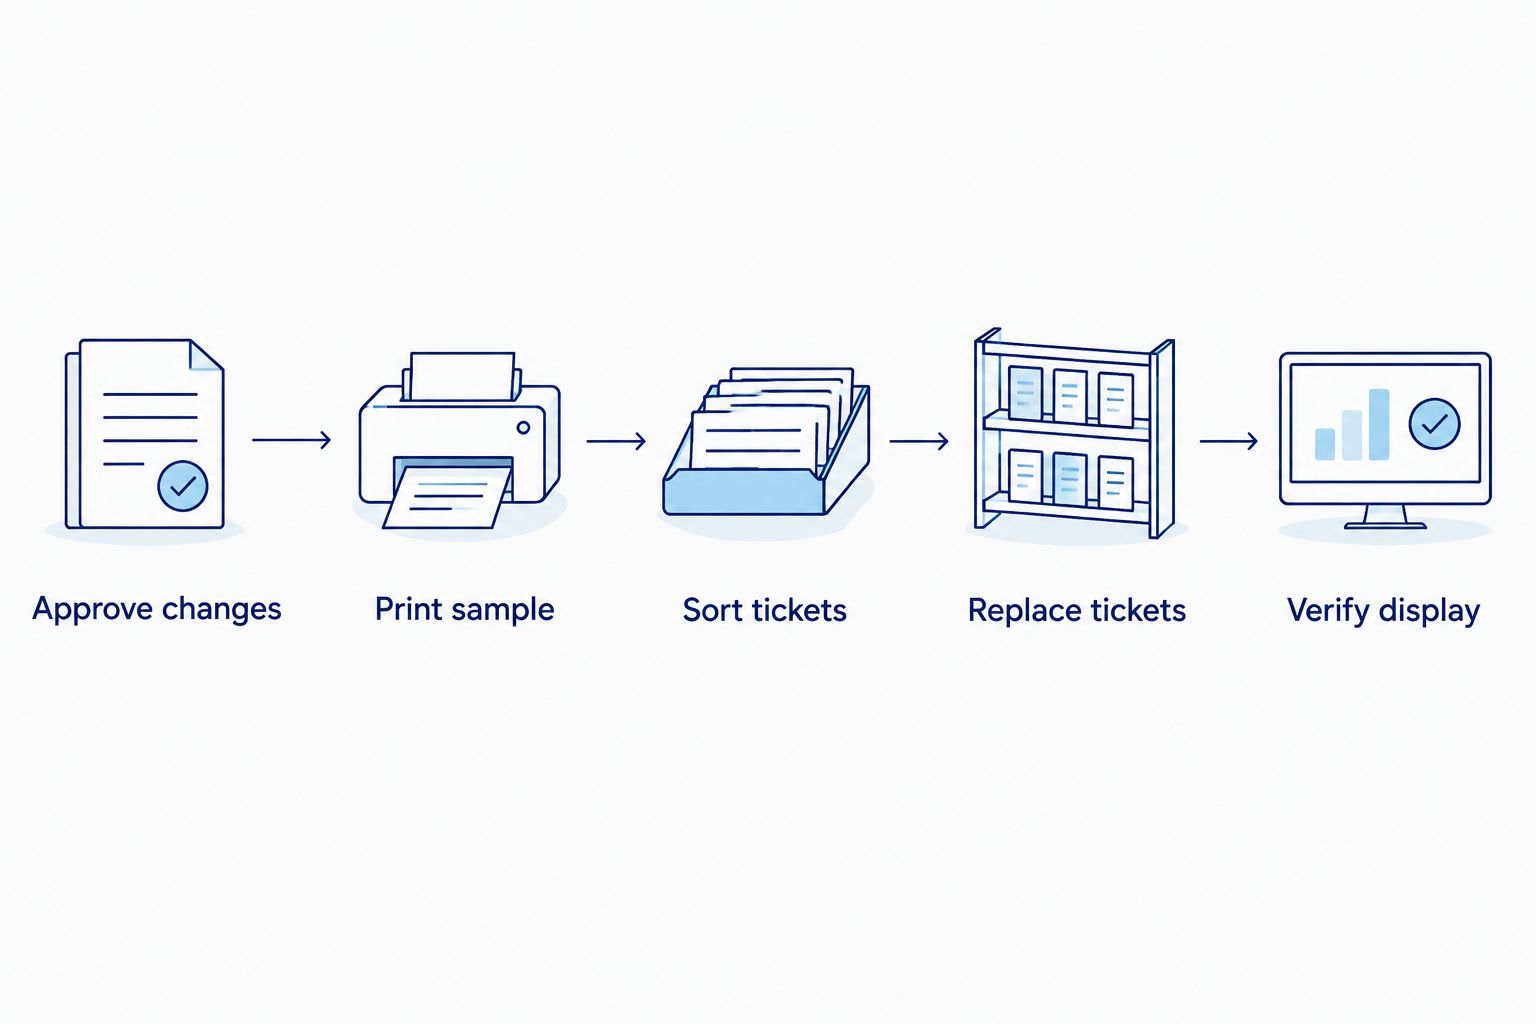
Use the same installation sequence for routine 2026 changes and larger resets. Increasing the batch size should not remove the product-matching step.
Verify the information customers encounter, not just the paperwork staff completed. A signed worksheet cannot establish that a ticket remains beside the correct product.
Expected result: The shelf ticket, display signage and checkout record agree for the same product. Unresolved discrepancies have a named owner rather than disappearing into a completed batch.
Keep the exception description specific: wrong pack size, old sign retained or checkout record differs. That gives the person fixing it an action, not another investigation.
A product move is a separate trigger for checking ticketing, even when the selling information has not changed. Use this variant when resetting a bay, changing a display or relocating stock during replenishment.
Expected result: Product locations and labels change together. Staff do not inherit a correct ticket in an incorrect position.
For recurring label replacement, the data stripping workflow develops the shelf-edge side of this process. Keep your 2026 location record as the reference for both workflows.
Measure the holder's usable opening and check the printer output scale. Print another sample after correcting the template; do not trim away product identifiers or important conditions to force a fit.
Check the SKU, barcode, pack size and effective time against the approved record. Escalate the discrepancy through your store procedure, then recheck the corrected shelf and checkout information before closing the exception.
Add that display to the product's location record and remove the superseded sign. Check other signs from the same promotion rather than assuming the discovered sign was the only one missed.
Make variant and pack-size information distinct in the template. Require staff to match the identifier on the product before replacing the ticket, especially where adjacent products use similar packaging.
Inspect the attachment and shelf profile, then test the assembly during normal stock handling. Confirm compatibility or replace damaged components; do not treat an improvised attachment as proof that the holder is suitable.
Start with a manageable shelf section before applying the process across your store. Check whether the location descriptions, print format and exception ownership work for the staff who actually install tickets.
For a single-store operator, a worksheet and a clearly assigned checker can support the process. For multiple locations, add Store and keep verification local: a completed installation at one branch does not establish that another branch has changed its display.
Cheapshelving supplies commercial shelving, retail displays, trolleys and shop fittings to businesses and retailers in Perth, WA. When combining ticketing purchases with a shelving change, confirm the shelf-edge attachment and ticket format as part of the same buying check.
Do not expand the ticket batch until the sample installation passes. That keeps an unsuitable holder or unreadable template from becoming a store-wide replacement job.
What is a ticket holder used for in a retail store?
A ticket holder positions a printed label or sign beside the relevant product or display. Accurate shelf pricing still requires staff to match the ticket with the product and checkout record.
What is the best ticket holder for my shelves?
The best ticket holder fits your shelf attachment, ticket dimensions and stock-handling routine. Measure the usable opening and test an assembled sample before ordering for the whole store.
Can I use an A4 ticket frame instead of individual shelf labels?
Use an A4 ticket frame for display signage, but retain clear product identification wherever a shared sign would be ambiguous. Check that customers can tell exactly which products and conditions the sign covers.
Does an A4 clear sleeve include the ticket frame?
The supplied Cheapshelving description states that the A4 Clear Sleeve for A4 ticket frame does not include the frame or sign. It is designed to slide into the frame to protect the sign.
How do I stop shelf tickets showing different information from checkout?
Use one approved change record, coordinate the effective time and verify the installed ticket against the checkout record. Keep discrepancies open until an authorised person resolves them.
Do I need to check tickets when stock moves without a pricing change?
Yes, check the old and new positions whenever stock moves. A ticket can contain correct information but still mislead customers when it sits beside the wrong product.
Should I print every ticket before testing the holder?
No, print and fit a sample before producing the full batch. Check readability, attachment fit and stock access with the complete assembly.
An empty shelf position still needs a ticket decision. When staff refill it with a different product, the leftover label can become incorrect without anyone changing the label itself.
Add Check existing ticket to your replenishment instructions. For your 2026 procedure, that small check connects everyday stock handling with the same accuracy standard used for planned pricing changes.
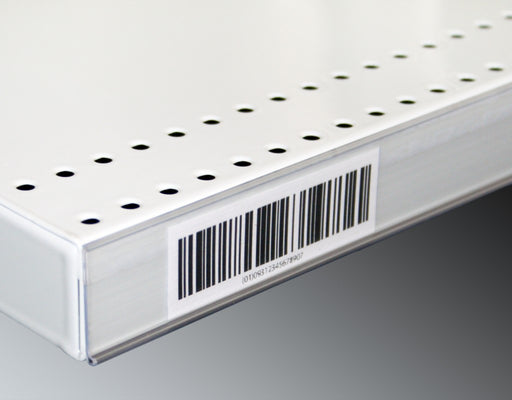
Upgrade your store's pricing and product labeling system with our Flat Adhesive Data Stripping. This cost-effective solution is designed to simplif...
View full details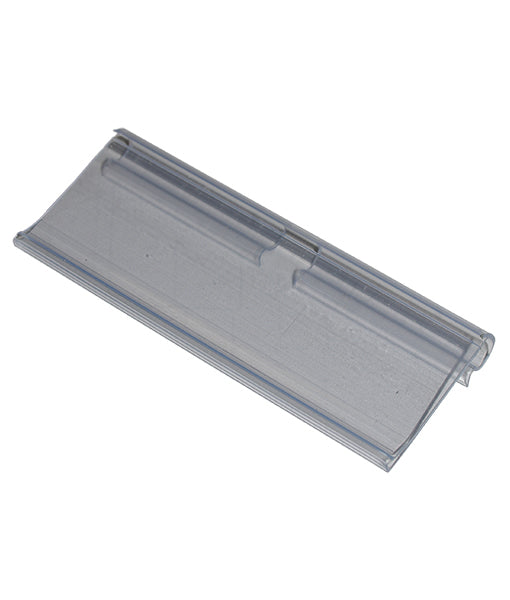
Enhance your store's product labeling and pricing system with our 100-Pack Flipper Tags. These versatile and easy-to-use tags are designed to strea...
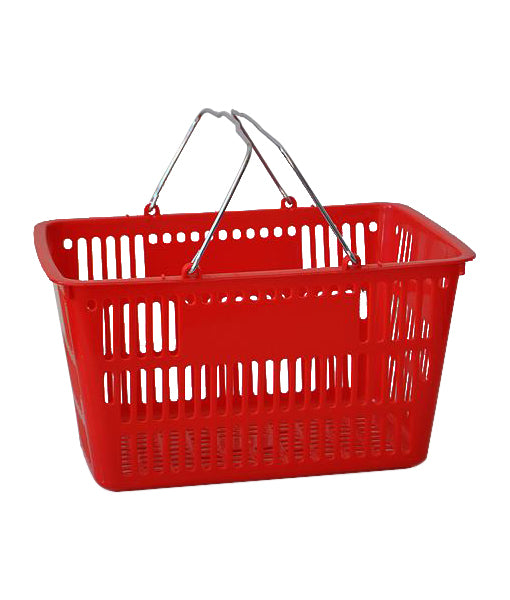
View full detailsUpgrade your customers' shopping experience with our 28 litre Shopping Baskets featuring Metal Handles. These robust and stylish baskets are design...
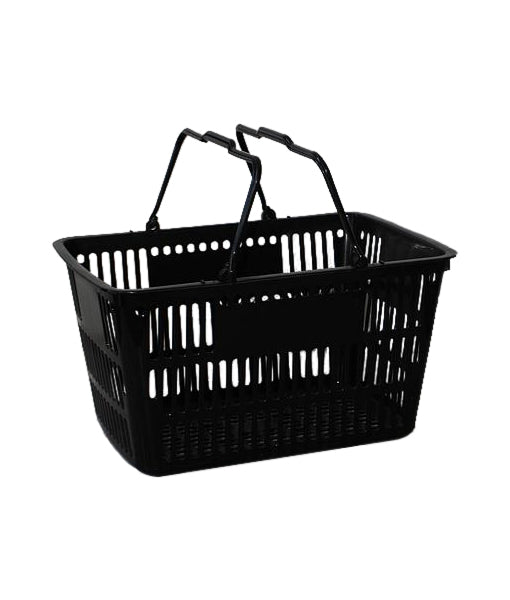
View full detailsMake shopping a breeze for your customers with our 28 Litre Shopping Baskets featuring Plastic Handles. These lightweight and sturdy baskets are de...
View full detailsRevolutionize your customers' shopping experience with our Roller Shopping Baskets. These innovative baskets are designed for maximum convenience, ...
View full details{"one"=>"Select 2 or 3 items to compare", "other"=>"{{ count }} of 3 items selected"}